 Photo by Everaldo Coelho on Unsplash
Should website auditing be for agencies? For those companies that can pay expensive consultants for their services? Thanks to Google’s Lighthouse, not anymore! You can run these audits right from Chrome. And because you shouldn’t have to do this manually, you can run them as part of your CI pipeline using Github Actions. Keep reading and I’ll show you how I did it.
What we expect
If you visit your site (or any site) using Chrome and open the developer tools (right click, then inspect), you will find a “Lighthouse” tab. You can choose to generate a new report. After a few seconds, you will see something similar:
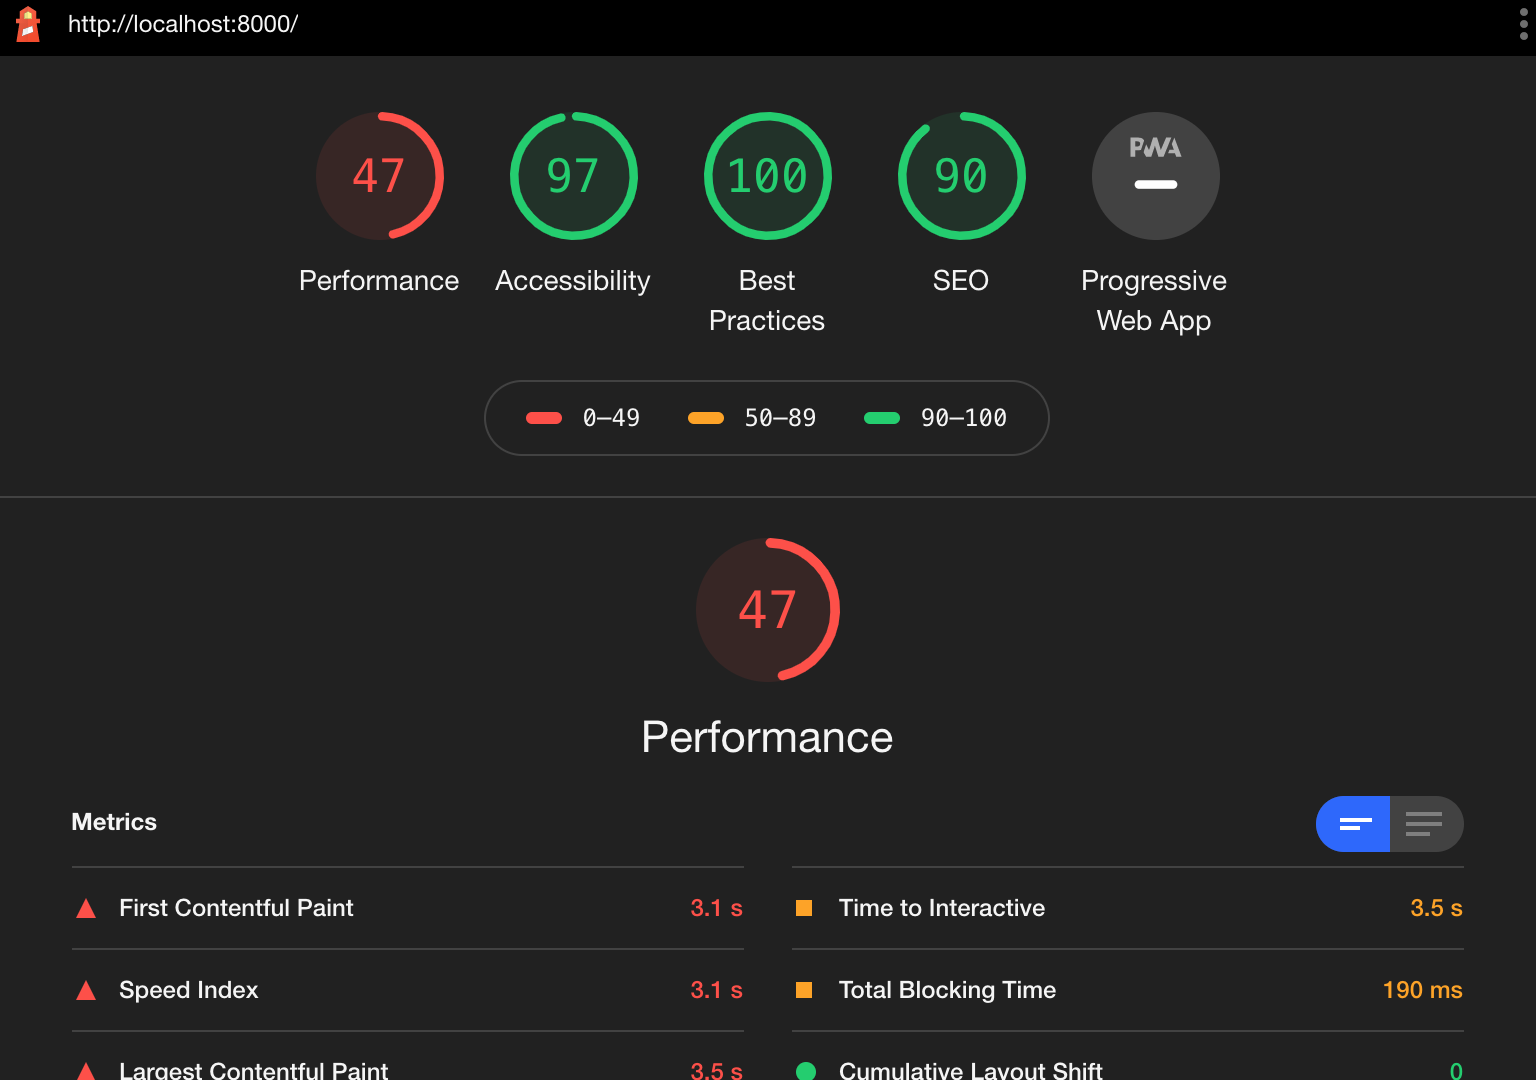
Scroll through the report a bit and take a look at the wealth of information available. You can dig deeper into each category and find some recommendations for each.
We are going to produce a similar report but in an automated fashion so that you don’t have to fire up the developer tools every time you deploy your site.
Automate Lighthouse Audits
Setup
For this tutorial, we will audit a static website built with Gatsby. We will start with a base Github Actions Workflow configuration. I recommend that you read my previous post to get started with Github Actions. This tutorial is a great follow-up step to that one.
Lighthouse is easiest to configure if your project is based on a javascript framework that has an npm run build command. Yet, it can audit any URL, a collection of static files, or even a site that needs a command to serve it. For example, you can audit sites that need rails server -e production, npm start or hugo serve -D as a step.
To configure Lighthouse, you need a configuration file. Let’s use this simple config. Create a new file in the root of your repository and call it lighthouserc.json and write the following in it:
{
  "ci": {
    "upload": {
      "target": "temporary-public-storage"
    }
  }
}
That’s it. With this configuration, the results of your audit will be sent to a public server so you can view them temporarily. For more on the Lighthouse CI configuration, check out their documentation.
If your project is not based on a javascript framework, or is a collection of static files, you can still use Lighthouse.
- Use this if you need a command to serve your site:
{
  "ci": {
    "collect": {
      "url": ["http://localhost:3000/"],
      "startServerCommand": "rails server -e production"
    },
    "upload": {
      "target": "temporary-public-storage",
    }
  }
}- Or use the following if your project is a collection of static files. You can change the directory to point to the location of your final static files.
{
  "ci": {
    "collect": {
      "staticDistDir": "./"
    },
    "upload": {
      "target": "temporary-public-storage"
    }
  }
}
Add a Lighthouse step
Now we will add a new step to our Github Actions Workflow. We will start off with this workflow file from my last post:
name: My NodeJS CI

on:
  push:
    branches: [ master ]
    paths-ignore: [ 'README.md' ]

jobs:
  build:
    runs-on: ubuntu-latest

    steps:
    - uses: actions/checkout@v2

    - name: Use Node.js 10.x
      uses: actions/setup-node@v1
      with:
        node-version: 10.x

    - name: run install, lint and test
      run: |
        npm install
        npm run lint
        npm run test

    - name: build
      run: npm run build
Let’s add a new step to install lighthouse CI
   - name: install lighthouse CI
     run: npm install -g @lhci/cli@0.4.x
And a step to run the audit
   - name: audit
     run: |
       lhci autorun
Optionally, you can add an exit 0 to prevent issues reported by the audit from failing your workflow
   - name: audit
     run: |
       lhci autorun
       exit 0
The final workflow file looks like this:
name: My NodeJS CI

on:
  push:
    branches: [ master ]
    paths-ignore: [ 'README.md' ]

jobs:
  build:
    runs-on: ubuntu-latest

    steps:
    - uses: actions/checkout@v2

    - name: Use Node.js 10.x
      uses: actions/setup-node@v1
      with:
        node-version: 10.x

    - name: run install, lint and test
      run: |
        npm install
        npm run lint
        npm run test

    - name: build
      run: npm run build

    - name: install lighthouse CI
      run: npm install -g @lhci/cli@0.4.x

    - name: audit
      run: |
        lhci autorun
        exit 0
Audit your site!
Make some changes to your site and push them to your repository and watch those Github Actions kick off and run your audits. There’s nothing more to this step other than wait.
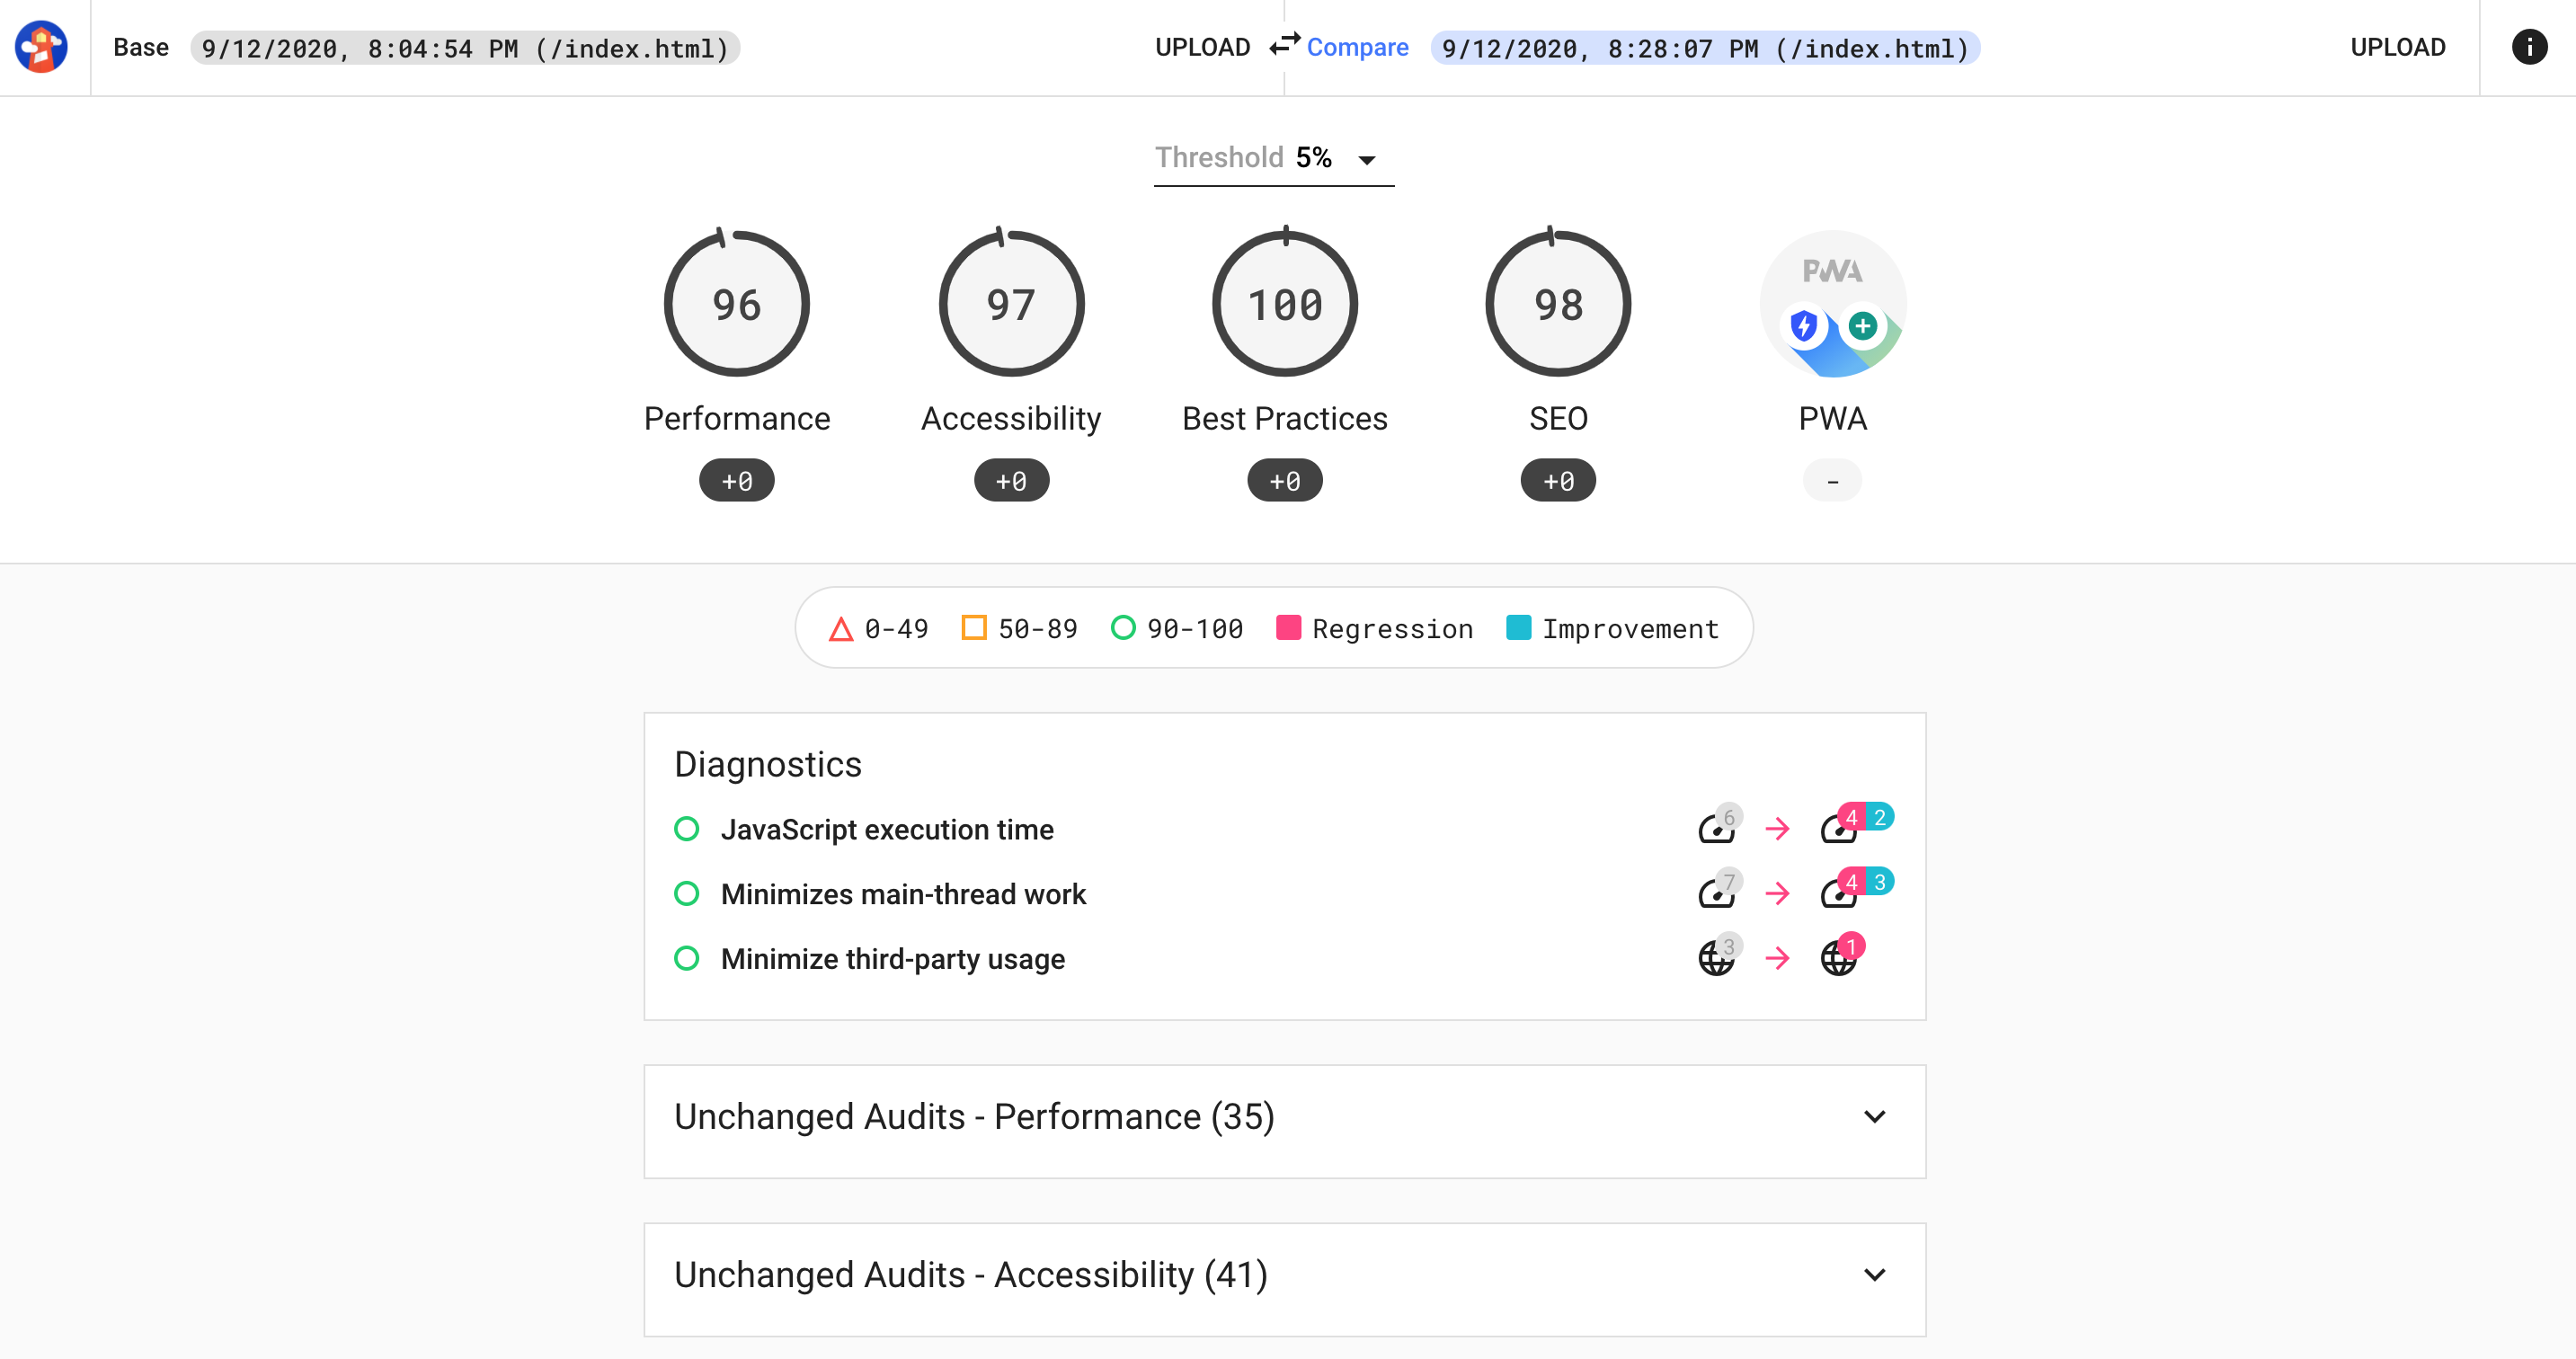
View the report
To find your report, you can open the logs of a complete audit run and find the links to where your files were uploaded. Simply copy the link and paste it in your browser to view the report.
Keep in mind that since we are using the public upload destination, these reports will disappear soon.
Conclusion
Website audits can give you good information on what to improve for your web project. You don’t have to be a big marketing agency to run them. With Lighthouse and Github actions you can setup a workflow to run them yourself! Use them to enhance your personal projects and boost your online presence. I hope you found this article helpful. If you did, share it with others to help others reach their goals.
Further reading
- This post is based on the steps to configure Lighthouse CI from the Lighthouse documentation. https://github.com/GoogleChrome/lighthouse-ci/blob/master/docs/getting-started.md#configure-lighthouse-ci
- You can find more details about Lighthouse configuration here. https://github.com/GoogleChrome/lighthouse-ci/blob/master/docs/configuration.md
- You can setup your own Lighthouse server to save reports to and view them as well. https://github.com/GoogleChrome/lighthouse-ci/blob/master/docs/server.md
- There is also a Github App integration. If you have time to check this out, let me know if it fits your workflow better! https://github.com/apps/lighthouse-ci
 Photo by Jonathan J. Castellon on Unsplash